5 Tips for Designing Attractive Custom Badges That Stand Out
Custom pins have become a must-have promotional tool. They are affordable, valuable, and popular across many demographics. A well-designed badge can raise brand awareness and act as a miniature ambassador for your business.
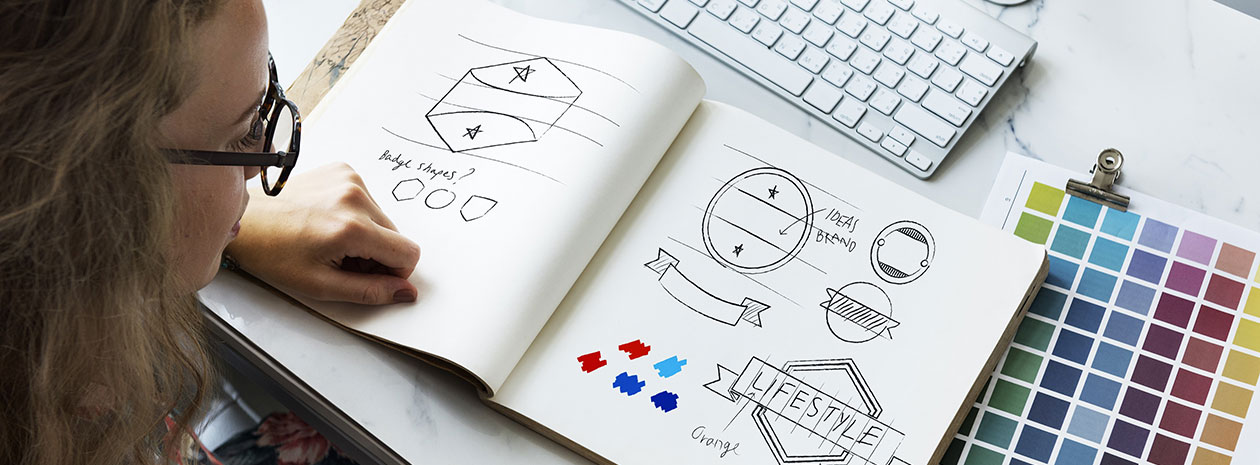
1) Unlimited Shapes and Sizes
Do not limit yourself to small round buttons. Hard- or soft-enamel badges can take almost any form—animals, icons, logos, ice-cream cones, even pizza slices. Size is part of the concept, so choose what best fits the message and placement.
2) Consistency, Consistency, Consistency
Keep visual identity tight: color, logo usage, and typography. Use Pantone color matching for accurate brand reproduction. Choose a finish that supports the look—glossy for pop, antique for heritage, or jewelry-like for premium pieces.
3) Hard Enamel or Soft Enamel?
- Hard enamel (premium): polished flat surface, long-lasting gloss. Best for daily-wear uniforms, corporate gifts, service awards, VIP gifts, and contests. Pantone-matched colors.
- Soft enamel (versatile, cost-effective): raised metal lines with recessed color for tactile detail. Despite the name, pins are firm and durable. Pantone-matched colors.
4) Pick the Right Finish
Match finish to purpose and budget.
- Glossy metals: gold, silver, copper, brass, chrome—durable shine that stays bright.
- Jewelry-style: no color; recessed areas matte or brushed for refined texture.
- Antique/vintage: ideal for retail lines, commemoratives, or special launches.
5) Work With the Right Manufacturer
Share brand files and Pantone codes, confirm plating and enamel type, and approve pre-production proofs. This avoids rework and ensures the badge delivers the impact you expect.
Conclusion
Align shape, size, enamel type, and finish with your brand standards and budget. Follow these custom badge design tips to produce pins people will wear — and remember.
Leave a Reply